Paloma Checkout API
Updated: 13.12.2024 13:47
The Paloma Checkout API provides shopping cart and order checkout functionality.
https://[organization].paloma.one/api/checkout/v2
Shopping Cart
The checkout process usually starts by filling the shopping cart with purchase items. Paloma uses the Order object for both cart and checkout operations. This means that a new order needs to be created before items can be added to it:
POST /{channel}/orders
{
  "locale: "en",
  "currency": "CHF"
}
As return value, you will get a Order object:
{
  "id": "5cc84ffc-573a-481d-8723-57c90f1287f4",
  "status": "cart",
  "currency": "CHF",
  "items": []
  ...
}
See Checkout API Reference for cart operations.
Adding Items to the Cart
Now we have a shopping cart and can start adding items:
POST /{channel}/orders/{orderId}/items
{
  "sku": "1000-200-300",
  "quantity": 1
}
In your shop front-end, you then can show a message like this:
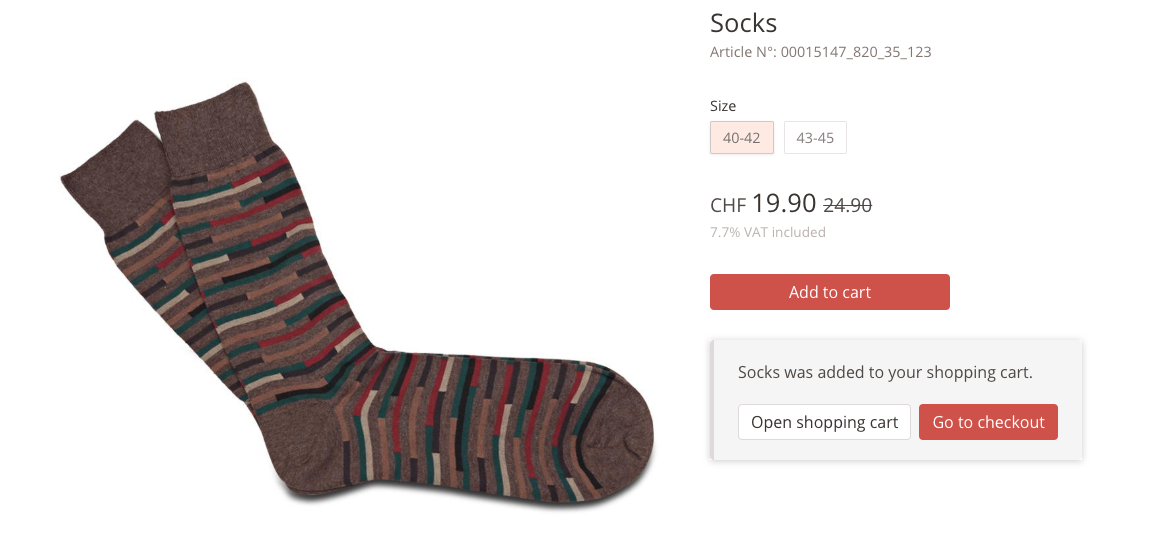
As return value you'll get the updated Order object. Note that each item has an id which is required when updating or deleting the item.
If the same SKU is added again to the cart, the quantities are added. To change the quantity of an item, you can update the cart item.
PUT /{channel}/orders/{orderId}/items/{itemId}
{
  "quantity": 2
}
To remove an item, use the "Remove cart item" operation.
DELETE /{channel}/orders/{orderId}/items/{itemId}
See Checkout API Reference for more information.
Displaying the Shopping Cart
To display the shopping cart to a user, use the order ID from your session:
GET /{channel}/orders/{orderId}?locale=de
The locale parameter is optional. If set, the order content (product names, money formatting) will be returned according to the given locale. Otherwise, the locale already set on the order itself will be used.
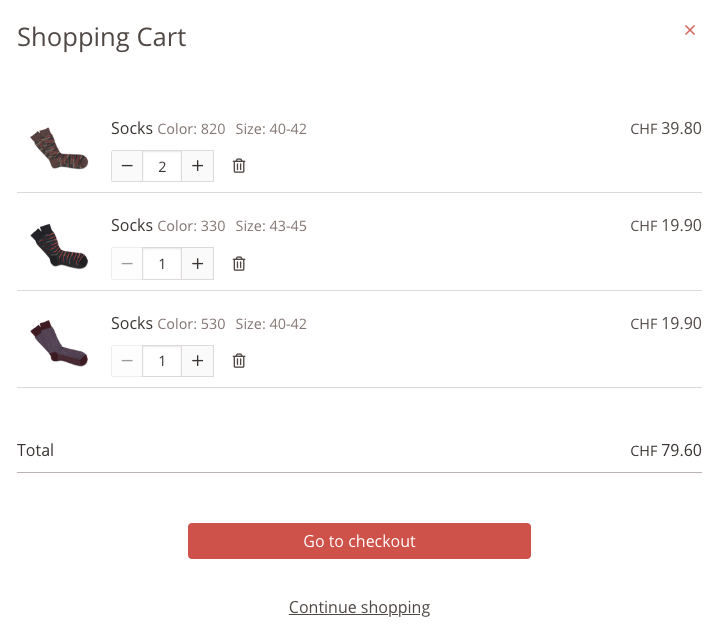
You can then use the returned Order object to render the shopping cart. This could be a "mini" cart view in the header/sidebar of your shop or a dedicated shopping cart view.
Checkout Process
Now that we have a shopping cart filled with items, we can proceed with the checkout.
Usually this means:
- Set the customer for an order (e.g. when user logs in during checkout)
- Set billing and shipping address
- Set shipping method
- Set payment method

These steps don't have to be done in any particular order. However, it is good practice to set the customer as soon as possible because Paloma will then fill in things like billing and shipping address based on the customer's preferences.
Set the Customer for the Order
Setting the customer for the order depends on whether the front-end user is logged in (a customer exists for the user) or if he is a guest user.
If the user is logged in, the user ID (see User Authentication) can be used to set the customer for the order:
PUT /{channel}/orders/{orderId}/customer
{
  "userId": "12324-3434-3434"
}
If the user is a guest, the request looks like this:
PUT /{channel}/orders/{orderId}/customer
{
  "emailAddress": "hans.muster@astina.io",
  "firstName": "Hans",
  "lastName": "Muster",
  "gender": "male"
}
Set Billing and Shipping Address
Billing and shipping address for the order can be set in the same operation ("Set addresses").
If only one address is provided it will be used for both billing and shipping address, but only if the other one is not already set.
PUT /{channel}/orders/{orderId}/addresses
{
  "shippingAddress": {
    "title": "Mr",
    "firstName": "Hans",
    "lastName": "Muster",
    ...
  }
    # billing address ommitted: shipping address will be used as billing address
}
If a customer (with ID) is set on the order, we can also pass address IDs to set the billing and/or shipping address:
PUT /{channel}/orders/{orderId}/addresses
{
  "billingAddressId": "fc672214-...",
  "shippingAddressId": "71683af0-..."
}
The IDs of the customer's addresses can be found in the Customers API.
Set Shipping Method
To define the shipping method for the order, we first need to know which shipping methods are available for this order.
GET /{channel}/orders/{orderId}/shipping-methods
This will return a list of shipping methods:
[
  {
    "name": "post_standard",
    "pricing": {
      "currency": "CHF",
      "grossPriceFormatted": "0.00"
    }
  },
  {
    "name": "post_priority",
    "pricing": {
      "currency": "CHF",
      "grossPriceFormatted": "10.00"
    }
  }
]
In your shop-frontend this could be displayed like this:
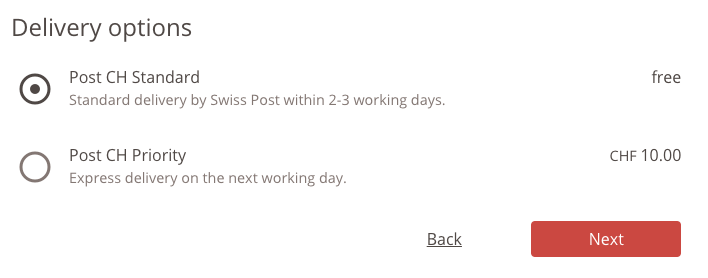
Use the name of the desired shipping method to set the shipping method for the order:
PUT /{channel}/orders/{orderId}/shipping-method
{
  "name": "post_priority"
}
Set Payment Method
To select a payment method for the order, we can get a list of available payment methods:
GET /{channel}/orders/{orderId}/payment-methods
This returns a list of available payment methods:
[
  {
    "name": "creditcard",
    "type": "electronic",
    "paymentInstruments": [{
      "id": "01E4V2JCC9T33QXEAXPHCJEC4F",
      "type": "VISA",
      "maskedCardNumber": "400360XXXXXXXX0123",
      "expirationMonth": "01",
      "expirationYear": "21"
    }]
  },
  {
    "name": "paypal",
    "type": "electronic"
  },
  {
    "name": "invoice",
    "type": "invoice"
  }
]
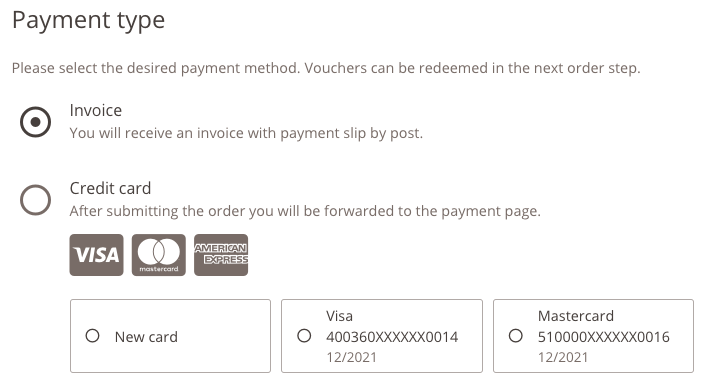
The type property indicates whether the front-end needs to initiate a payment flow after purchase.
Note the list of paymentInstruments for the credit card payment method. Those payment instruments are saved credit cards which can be used for payment.
Use the name of the desired payment method to set the payment method for the order:
PUT /{channel}/orders/{orderId}/payment-method
{
  "name": "invoice"
}
If the user wants to use a saved credit card for payment, the paymentInstrumentId can be passed alongside the payment method:
PUT /{channel}/orders/{orderId}/payment-method
{
  "name": "creditcard",
  "paymentInstrumentId": "01E4V2JCC9T33QXEAXPHCJEC4F"
}
Prepare the Order for Purchase
Before the order can be placed for purchase, it needs to be finalized. This step is necessary to ensure that the order is not modified between displaying the final confirmation page (and applying coupon codes) and actually purchasing the order.
Finalizing the order prepares it for purchase. This method should be called when the order has to be presented to the user for review, immediately before he can click the purchase button.
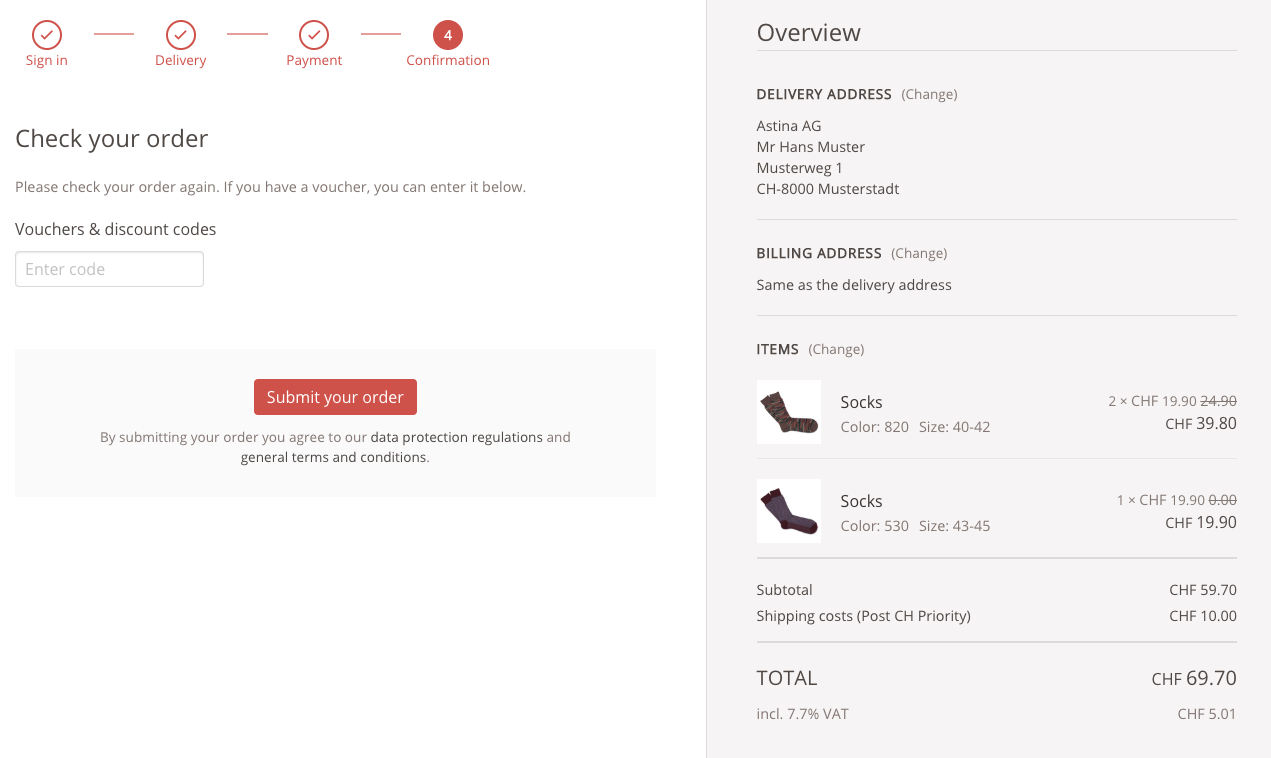
An order can only be finalized if all mandatory data is present (items, addresses, shipping method, payment method).
POST /{channel}/orders/{orderId}/finalize
If finalization was successful, the order will get the status 'finalized'.
{
  "id": "5cc84ffc-573a-481d-8723-57c90f1287f4",
  "status": "finalized",
  ...
}
Applying Coupon Codes
To apply a coupon code, the order needs to be in 'finalized' status.
POST /{channel}/orders/{id}/coupons
{
  "code": "CHJX97JS89"
}
Multiple coupon codes can be applied to the same order. However, certain coupon code configurations may prevent this. In this case, you will get the following HTTP 400 error:
[
  {
    "coupon": "CHJX97JS89",
    "status": "not_combinable"
  }
]
See the Checkout API Reference (HTTP 400 Response Schema) for a complete list of coupon error status codes.
To remove a coupon code, use the "Delete coupon code" operation.
DELETE /{channel}/orders/{orderId}/coupons/{code}
Initialize Payment
If you have selected a payment method of type 'electronic', the payment process needs to be initiated by the shop front-end.
POST /{channel}/orders/{orderId}/payments
{
  "successUrl": "https://mywebshop.com/checkout/payment/success",
  "cancelUrl": "https://mywebshop.com/checkout/payment/abort",
  "errorUrl": "https://mywebshop.com/checkout/payment/fail",
}
As return value, you will get a Payment object wit status initiated:
{
  "paymentProvider": "datatrans_ch",
  "paymentProviderType": "datatrans",
  "paymentMethod": "electronic",
  "reference": "10000117-001",
  "currency": "CHF",
  "amount": 37.0,
  "status": "initiated",
  "providerRequest": {
    "url": "https://....",
    "params": [
      {
        "name": "CURRENCY",
        "value": "CHF"
      },
      {
        "name": "AMOUNT",
        "value": "3700"
      },
      ...
    ]
  }
  ...
}
There are two ways how the shop front-end can use this response:
1) Use the URL in providerRequest.url to redirect the user to the payment page of the provider.
2) Use the the parameters in providerRequest.params to render a UI component fitting for the payment provider defined in paymentProviderType.
See the particular payment provider's documentation on how to integrate a payment provider UI component.
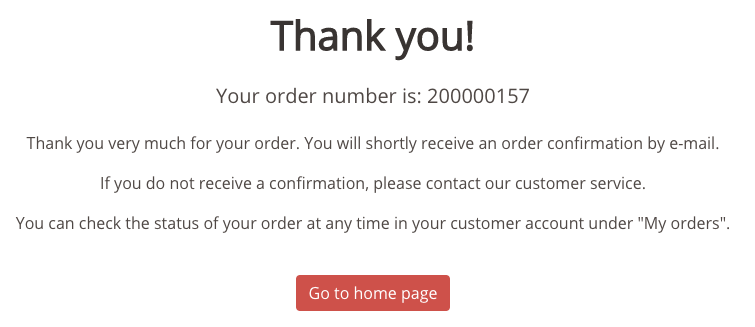
Place the Order for Purchase
Finally, we are ready to place the order for purchase.
POST /{channel}/orders/{orderId}/purchase
As return value you will get the updated Order which is now in status 'purchased'. Also, the order will now have a orderNumber assigned.
Utilities
The Checkout API also offers some utility features besides the main checkout flow.
Cart Order Search
The "Search orders" API operation returns a list of cart orders matching the given search query.
This is useful for finding open cart orders for a customer if, for example, the user session is expired or otherwise unavailable.
Cart Order Export
Cart orders can be exported in an Excel format compatible with the customer watchlists import.
See the Checkout Export API specification and the Customer Watchlist Import API specification.
Next: Customers & Orders